A ONE STOP SHOP CALIBRATION PARTNER
Danisense Calibration Lab
Calibration service
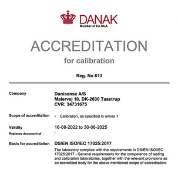
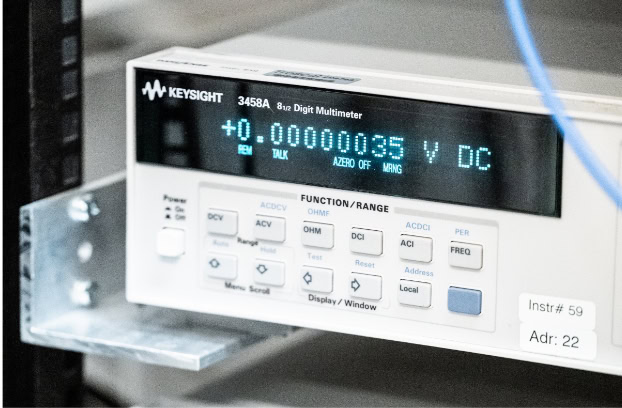
As part of Danisense’s pursuit of precision and innovation, the Danisense Calibration Laboratory was constructed in 2017. The aim was to improve our technical proficiency and to grow our knowledge of current sensing technology. Since then, we have expanded and improved the calibration service to offer customers highly accurate and reliable calibration of current transducers, with some of the lowest uncertainties available. After learning and building our competence, the first ISO/IEC 17025 accreditation by DANAK was finalised in 2022. The primary objective of Danisense Calibration is always to give the customer useful and trustworthy results.
The importance of accurate and reliable current transducers
Laboratory Measuring Capability
Our state of art laboratory is equipped to handle DC (from 1A to 21kA) and AC 53 Hz (from 1A to 1.2kA) for gain error and phase shift. This extensive range ensures that we can calibrate a wide variety of current transducers with current or voltage outputs.
A One Stop Shop Calibration Partner
Many labs have a mix of current transducers from different brands and technologies, making calibration complex and time-consuming. Our calibration service handles both Danisense and third-party AC and DC current transducers, ensuring accuracy and performance through one trusted partner — saving you time and effort.
Short Lead Time
Our calibration service minimizes downtime with short lead times — typically 10 working days —ensuring your equipment is back in operation quickly. Our efficient team delivers fast, reliable service.
Certified Calibration Report
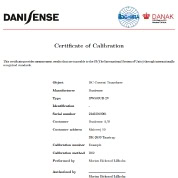
A Danak-accredited calibration certificate, providing you with the assurance that your Calibration Report meets ISO 17025.
ONLINE CALIBRATION PORTAL
AC & DC Calibration
ISO/IEC 17025 accredited
Calibration provides knowledge
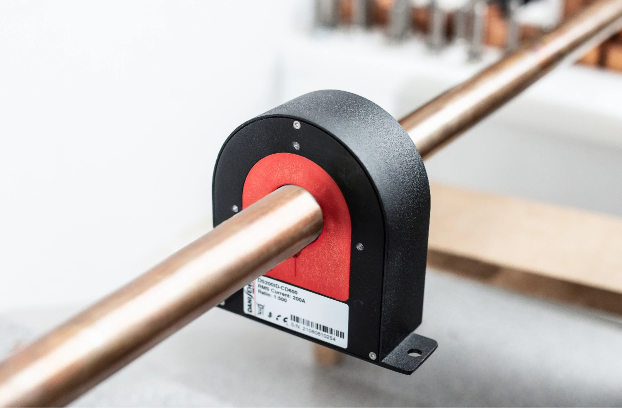
Calibration is the comparison of measurement values delivered by a device under test with those of a calibration standard of known accuracy. This provides the device user with knowledge of how well the device performs in controlled conditions. Regular calibration of an instrument gives the user confidence in their test results and insight into the reliability of their system.
Accreditation gives international acceptance
Accreditation is the independent conformity assessment by a third party against recognised standards. While each country has its own accreditation body, the EA and ILAC Mutual Recognition Arrangement (MRA) means that once accredited, the accreditation is accepted everywhere. This means that the customer can trust the high standard of the accredited laboratory anywhere in the world.
Traceability links results to the SI units
Measurement traceability refer to an unbroken chain of comparisons relating an instruments’ measurements to a known standard. Primary standards are used to realise their unit of measure which directly corresponds to their definition in the SI unit system. From this, secondary standards can be calibrated and used in national metrological institutes (NMI) as national standards. By maintaining traceability in calibration, the chain links the users’ instrument directly to the defined physical units. This means that measurement results can be compared using the same units across the world if uncertainty is accounted for.
ISO/IEC 17025 ensures competence
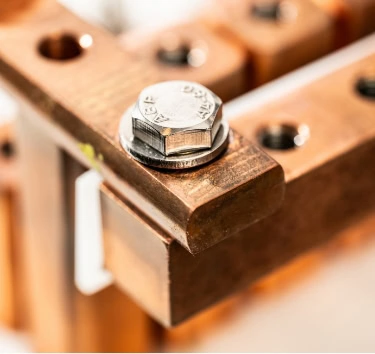
ISO/IEC 17025 is the internationally recognized standard for calibration laboratories. While similar to ISO 9001, the standard demands high levels of competence in both management and technical aspects of the laboratory to ensure the impartiality and quality of the results.
We perform DANAK accredited ISO/IEC 17025 calibration of DCCTs at Danisense Calibration. Our measurement capabilities are found in DANAKs website.
AC Accredited Calibration
Standard Calibration Points
Our standard AC calibration report is performed at 10%, 25%, 40%, 55%, 70%, 85% and 100% of nominal AC current. Results are presented with and without offset, with linearity analysis and statement of conformity (for Danisense transducers only) on all test points.
DC Accredited Calibration
Standard Calibration Points
Our standard DC calibration is performed at 0, ±10%, ±25%, ±40%, ±55%, ±70%, ±85%, ±100% of the transducer nominal DC current. Results are presented with and without offset, with linearity analysis and statement of conformity (for Danisense transducers only) on all test points. See sample report for details.
An example of the uncertainties we provide at different current levels in DC calibration:
Measuring Capability
| DC | 1A - 21kA |
| AC ratio (53 Hz) | 1A - 1.2 kA |
| AC phase (53 Hz) | 1A - 1.2 kA |
| Current output DCCT | Voltage output DCCT | |
| 100 A | 6 ppm | 17 ppm |
| 1000 A | 6 ppm | 17 ppm |
| 10000 A | 21 ppm | 26 ppm |
Please note that the actual uncertainty of calibration results depends on the device under test and the measurement conditions.
Custom Calibration Points
In case of our standard calibration points do not match the requirement, we are offering the possibility to customize these points. Please send us an email at calibration@danisense.com
Questions? We are
here to help you
Any questions regarding DC calibration or AC calibration contact us at calibration@danisense.com or book a calibration
When ordering a calibration please fill out our CRMA Form
